


Tools and materials: double - component silica gel (silica gel + curing agent), plastic plate, electronic name, cup, adhesive tape, glass rod, mold release agent, scissors, knife, hot-melt glue gun and tape, spray pen.
1. Female die processing

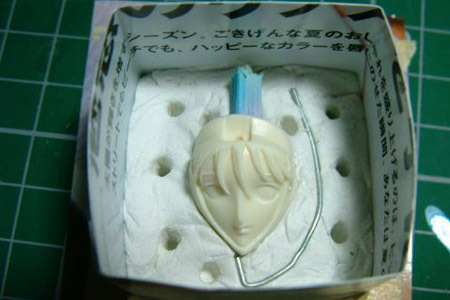
According to the drawing request to trim the sample to ensure the accuracy of the surface dimension of the mother mould.
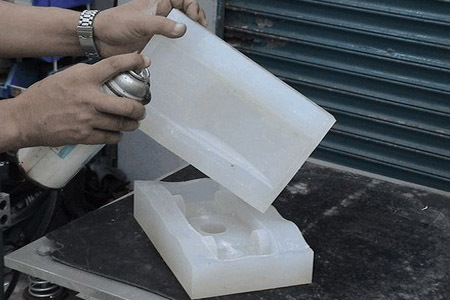
Spray the stripper evenly on the surface of the mould, and pay attention to the hole or narrow groove to be sprayed.
Determine the parting line and mark it with marks.
2. Make mould box and put in the female die
3. Weighting silicone rubber and curing agent

Remember to weigh proportionate rather than volume.
Mix and stir well
The weighing of silica gel and curing agent are poured into the same container.
Make sure to mix well, otherwise the partial curing part will not solidify, affecting the number of times.
5. Vacuum exhaust bubble
The mixing of silica gel and curing agent is put into the vacuum machine to make the air exhaust bubble.
Don't take a vacuum for more than 10 minutes. Too long will result in crosslinked curing reaction.
6. Pour the silica gel into the mould box

7. Waiting for cure

(2) the optimal curing temperature is 20 ~ 30 ℃.
If the temperature is below zero, the temperature of the oven will be warmed and solidified.
8. Trim the mould
After being completely cured, find the parting line mark.
2. It is important to ensure that the mould is deformed without external force or force, and prevents the deformation of the silicone mould.
Trim the edges with scissors.
9. Complete operation
It is recommended to be put into use after 24 hours to prevent deformation.
